What Did You 3D Print Today?

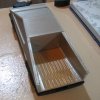
Well, I'll never be able to afford a Tesla Cybertruck but................ OK all joking aside, look at the poorly printed back half of the truck with what is called "salmon skin". After I printed it, I installed TL-Smoothers on all the stepper motors. As you can see in the pic, the improvement in the front half of the truck is quite dramatic. As an added benefit, my printer is basically silent now.View attachment 5642


I have a question, please :
Did you purposely print the rear body in "salmon skin" in order to illustrate what TL Smoothers could do, or the rear body print came out that way?
 
Last edited:
I have a question, please :
Did you purposely print the rear body in "salmon skin" in order to illustrate what TL Smoothers could do, or the rear body print came out that way?
No, that's just how it came out with my standard Cura profile. However at the time I printed the rear part, the heated bed thermistor was on it's way out and I was getting wildly fluctuating temps. I think this may have resulted in the poor print quality.
 
Hope it is just the thermistor, otherwise you would have to reexamine your Cura settings.
The TL-Smoothers took care of that. So, the matter is moot. However, there is an inherent problem lurking at the back. That's my take as a 3D printing newbie.

My Tesla bodies came out quite nice. I could have sanded down a little bit first, but got lazy.
I have issue with the chassis. The front one in particular. I am going to reprint it using the Support/Touching-buildplate option.

Tesla (1).jpg

Tesla(2).jpg
 
Last edited:

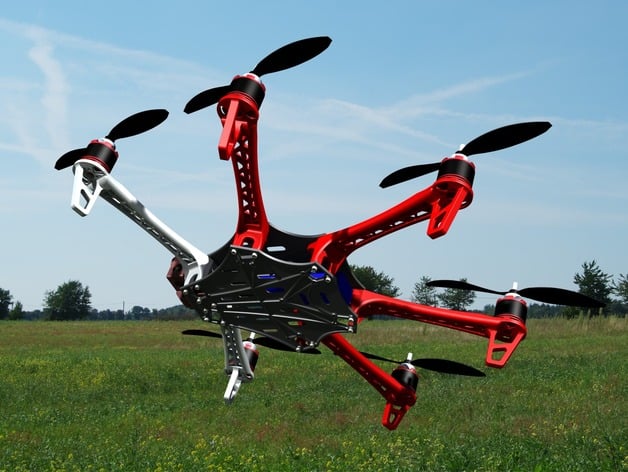
I just printed this Quadcopter (Spyda 500) out and need to install the avionics etc. any help is appreciated.
 
Thanks to Renover providing the Tesla Cybertruck 3D model in Post #20.

Below is my version.
I should have sanded down the body a little bit before spray painting.

Tesla(1).jpg


Tesla(3).jpg

Tesla(4).jpg

Tesla(5).jpg
 
Last edited:
I like that idea of attaching parts together with "clips".

My reservation is...… will the parts attach together "seamlessly" without exposing the clips inside?
For degree of "parts fitting together properly", I don't trust 3D printers.

Good luck. Looking forward to see the finished model.
 
I've test fitted a couple pieces and they go together quite nicely. I think if I was to go all out and use epoxy filler, I could make the joints seamless with some paint and sanding. But I'm just going to leave it raw, the ivory filament makes the bones look realistic. Although it may be just the excuse I'm looking for to purchase an airbrush. Hmmmm...............

Here's a couple pics of how some of the joints are connected. also to note I printed quite a few of the parts on a raft as they're printed vertically.006.JPG009.JPG011.JPG
 
Thank you.
As a matter of fact, I do have very steady hands that could rival any 20 year-0ld.
I am a Chinese Calligrapher. That requires steady hand to hold and write with a soft Chinese brush.

Here is one of my art works:
Image 9.jpg
 
No, actually this is the original size. I saw a video of a guy who did it at 250% and it was the size of a Shetland pony! And if I remember, he did it on a CR-10
 
Yes, I'd be interested in seeing what you could do. I've seen some videos of some that have done some very detailed airbrushing and one that he used some watered-down acrylic paint and dirt from the garden to give the bones a weathered look. As for that 250% model, yes I think it took him roughly 120 hours to print. And I'm sure you can add a few hours as you're bound to have a few failures along the way
 
Back
Top