Windy
Active Member
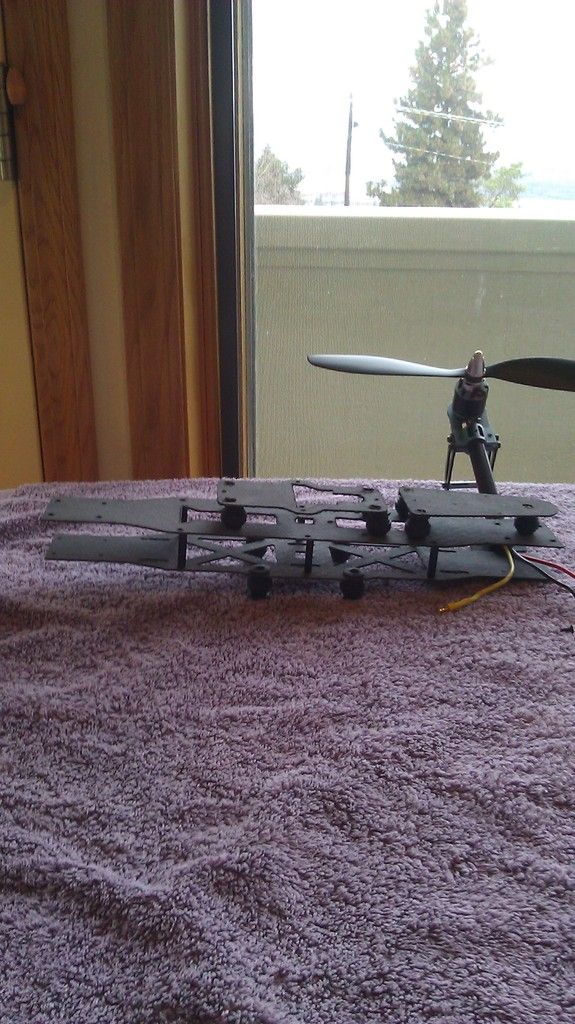
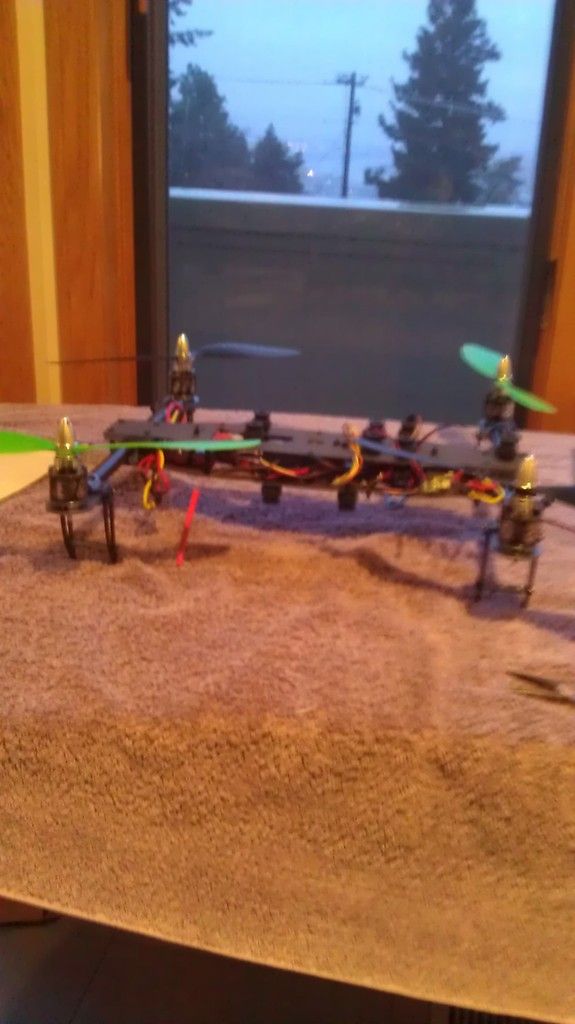
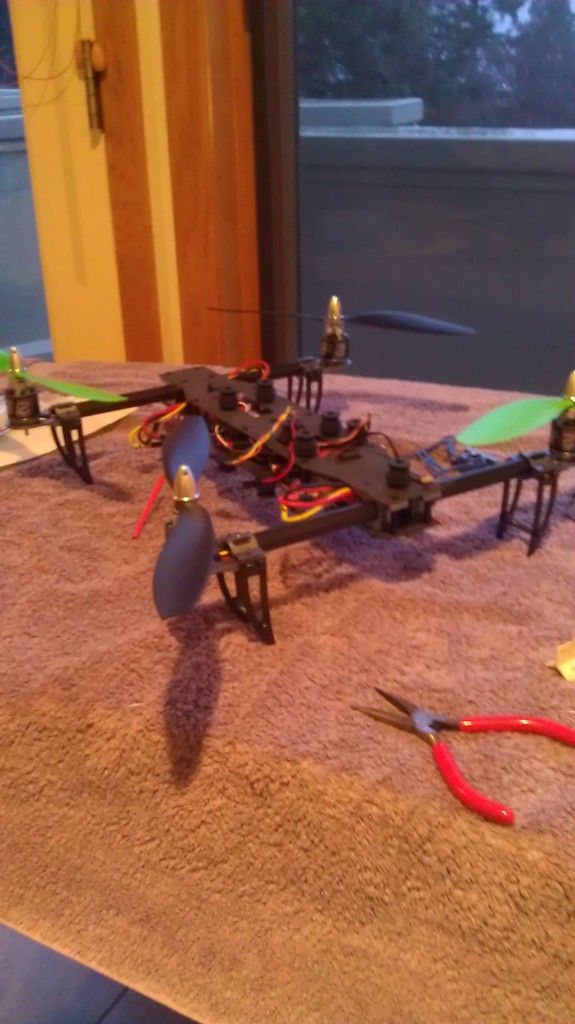
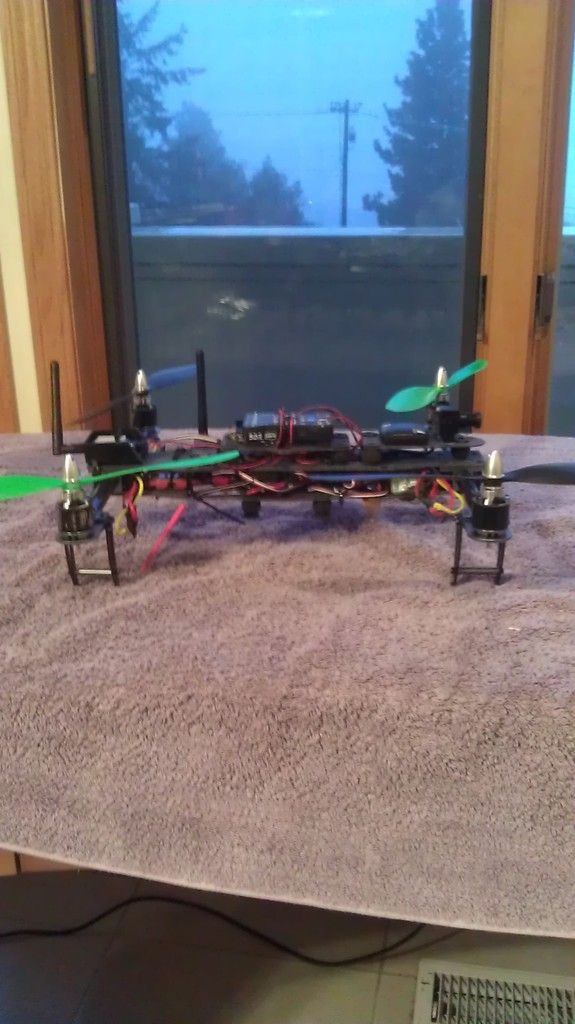
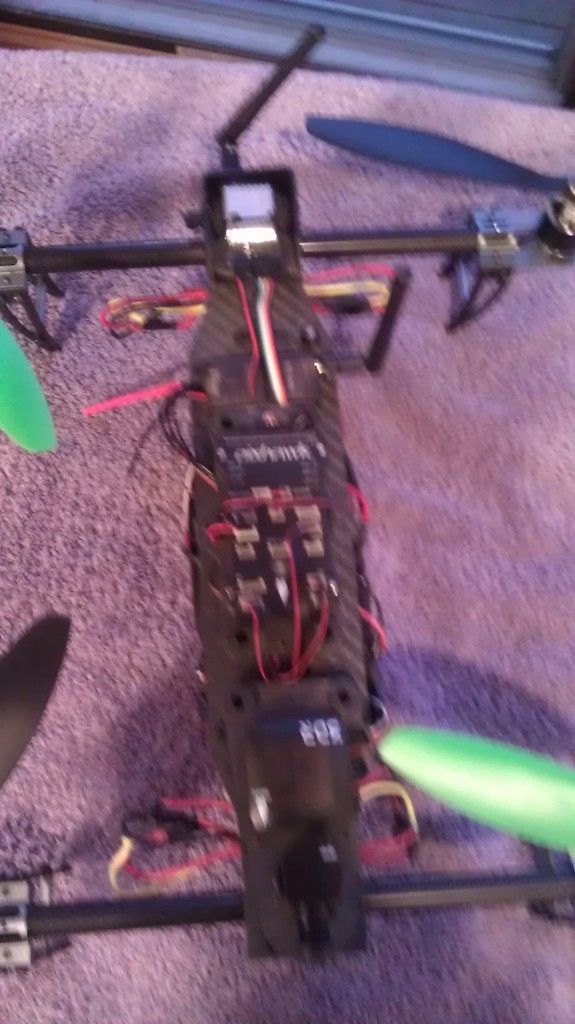
I have built and used a Turnigy Talon V2 frame and decided I could do better my self. I disliked the small center plates and I had to stack two more on top to get my electronics onboard. Then I needed to add protection or a cover. The landing gear are too short for an under mounted camera, and I didn't see stacking it on top. So I decided to modify the frame and needed a way to manufacture the carbon plates.
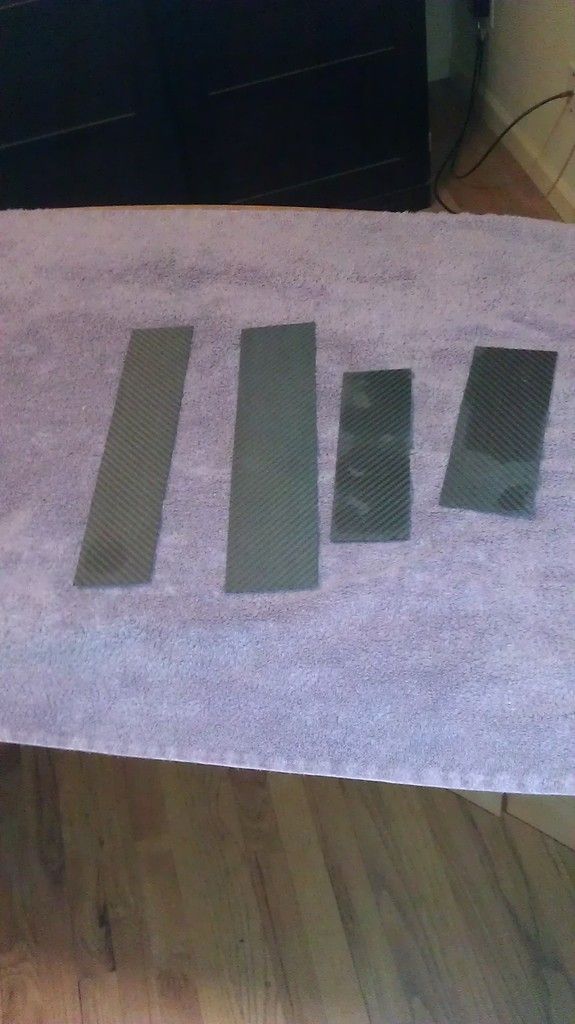
I am CAD experienced, and I have a old licensed copy of AutoCAD Light. It works well for the kind of drawing I do. So I laid out my design of an "H" copter needed to manufacture the plates. I bought a 12" x 24" sheet of 1.5mm carbon plate and began to cut it. The top and bottom plates are about 14" long by 3" wide. I first rough cut strips and pieces on my tile saw.
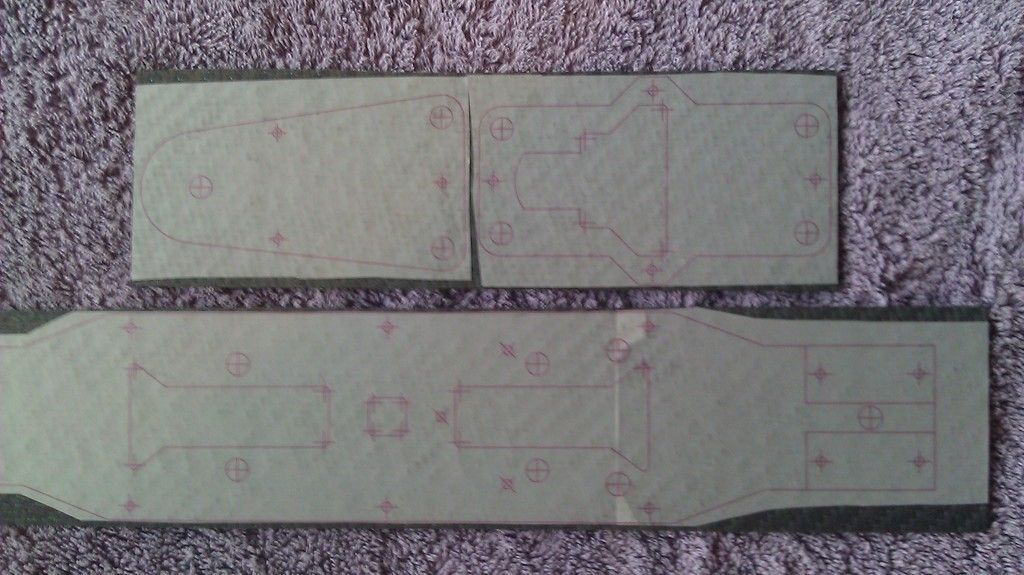
Next I printed my plate designs on Avery Clear shipping label paper that comes in 8.5x11". I then carefully laid them over the plates being sure to keep the two pieces in line and straight.
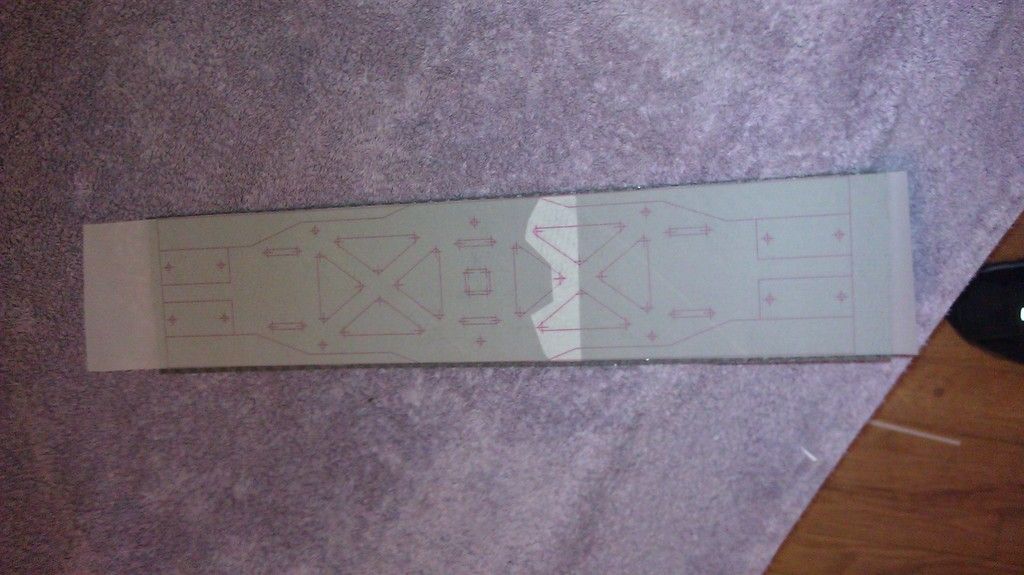
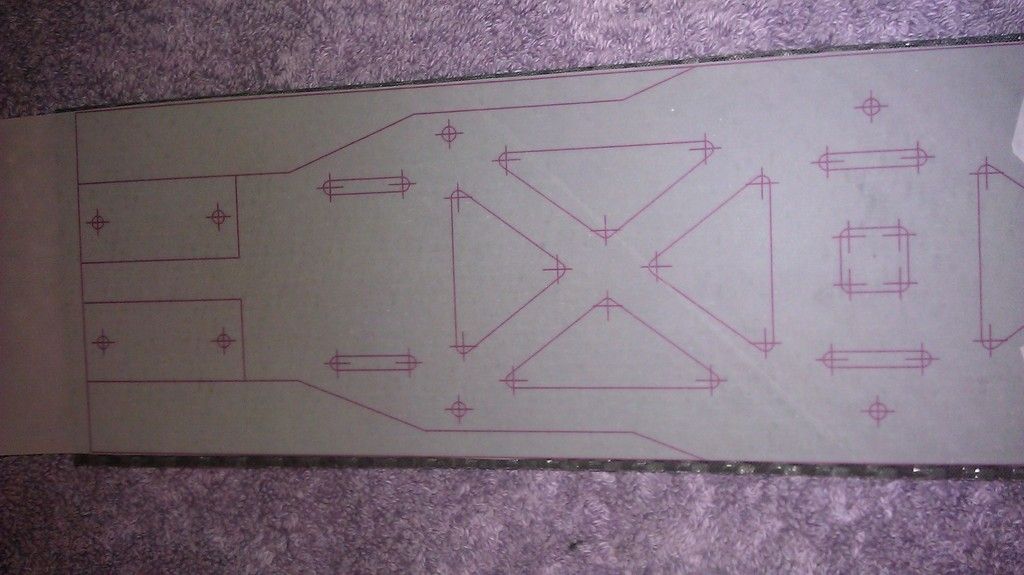
I then wet to my drill press and drill 1/16" holes over the center marks for each hole or radius.
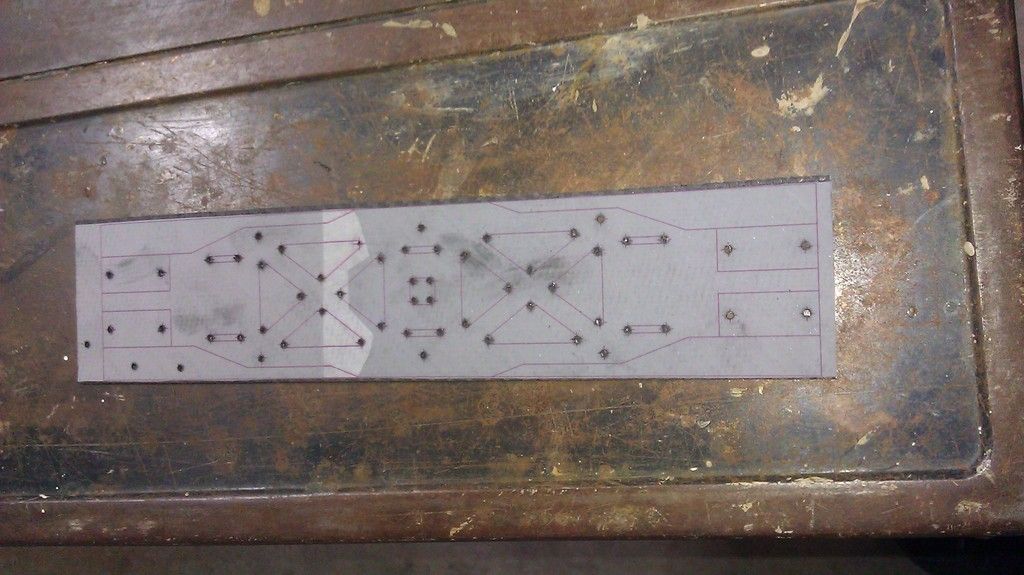
I then used a 3mm bit to drill 14 connector holes an counter sunk them. The rest were drilled out to 1/8".
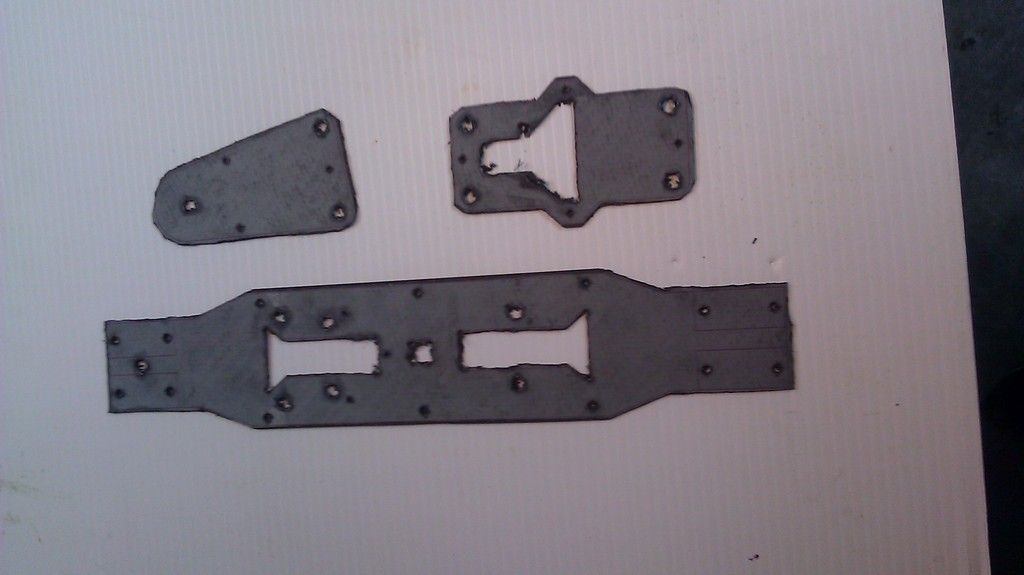
Finally using a dremmel, I trimmed each piece and cut holes.
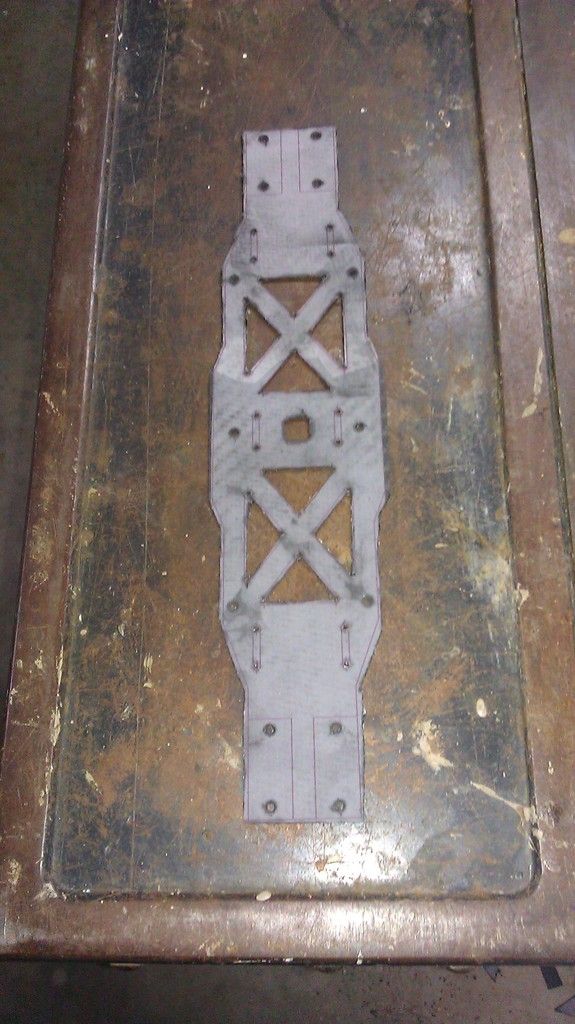
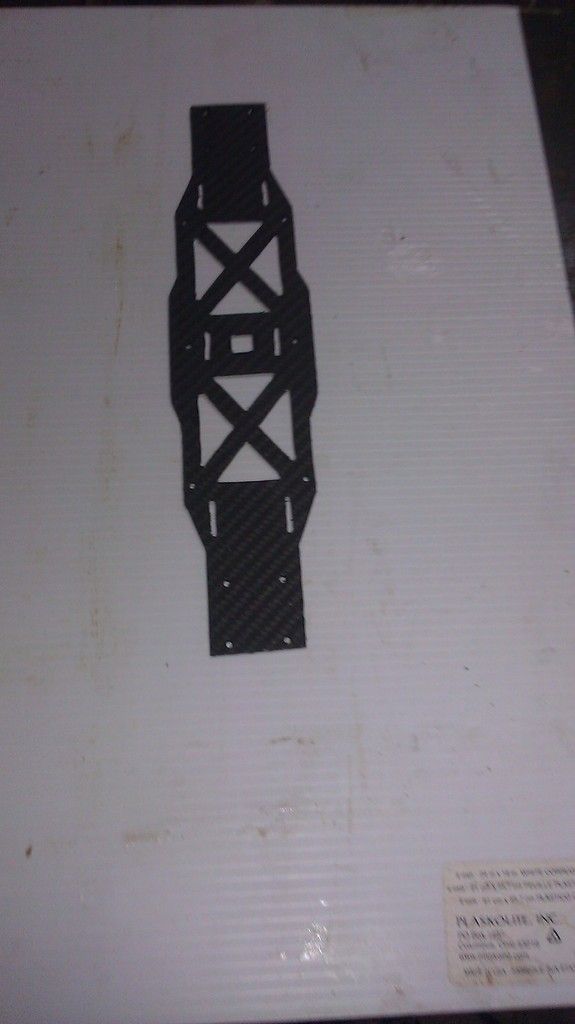
Then I hand filed everything to the layout lines and I completed the bottom plate.

Thought others might like to see how this goes.
I will post the top plate when I get it finished and then the assembly.
I am CAD experienced, and I have a old licensed copy of AutoCAD Light. It works well for the kind of drawing I do. So I laid out my design of an "H" copter needed to manufacture the plates. I bought a 12" x 24" sheet of 1.5mm carbon plate and began to cut it. The top and bottom plates are about 14" long by 3" wide. I first rough cut strips and pieces on my tile saw.

Next I printed my plate designs on Avery Clear shipping label paper that comes in 8.5x11". I then carefully laid them over the plates being sure to keep the two pieces in line and straight.


I then wet to my drill press and drill 1/16" holes over the center marks for each hole or radius.

I then used a 3mm bit to drill 14 connector holes an counter sunk them. The rest were drilled out to 1/8".
Finally using a dremmel, I trimmed each piece and cut holes.

Then I hand filed everything to the layout lines and I completed the bottom plate.

Thought others might like to see how this goes.
I will post the top plate when I get it finished and then the assembly.

